Inspired by a couple of YouTube videos and having to stay at home for some time I decided to try out and see how can I improve my acoustic guitar without damaging it (which would not be a big loss anyway).
Some background. My acoustic guitar was the first one actually bought by my wife as a present for me. I am not sure she realized what it would mean in terms of sounds I would produce on it :), but unfortunately the guitar was standing still (much) more than it was played. That is until I discovered the fantastic Yousician app, but that is a whole different story.
Anyway, since I was mostly playing in the evenings, I had to switch to electric guitar (which was apparenly annoying even with headphones and behind closed doors!). But once in a while I still picked up acoustic as I liked the sound of it, it gives a different feeling and has the thickest string gauge of all my guitars, so it is good for fingers :).
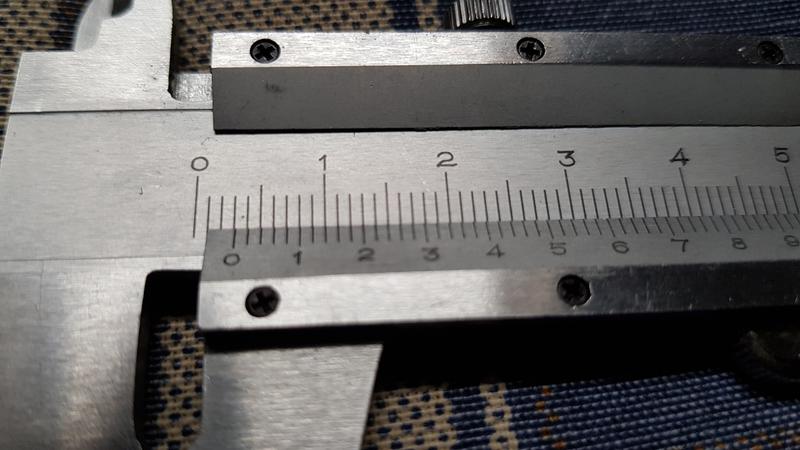
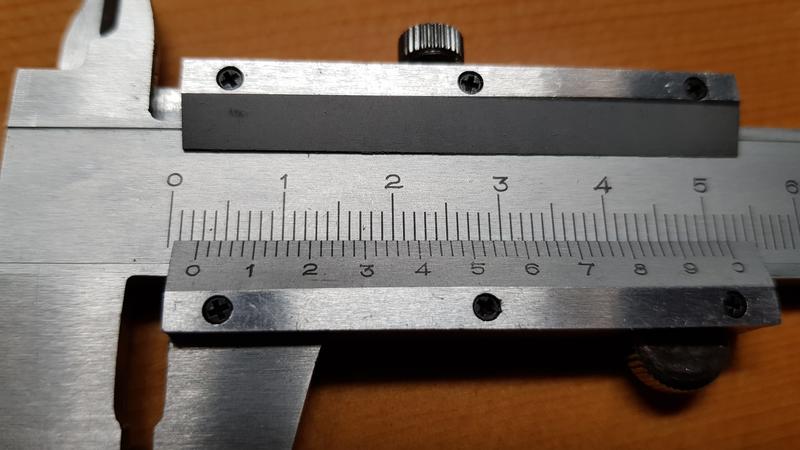
Well, after some time watching YouTube (happens when you’re sick in bed for a while) I came to an idea to measure the action on the acoustic (the electrics were mostly setup before I bought them, so they were fine). Well, the number was not very inspiring: the distance between the 12th fret and the bottom of the 6th string was about 3.something mm.
The recommended starting point is 7/64 inch which translates into about 2.78 mm. OK, while mine was not too far off I somehow felt it was still too much. So after some head scratching and calculating possible damage I decided to give it a go. The neck curve looked OK, so no thruss-rod adjustment needed. Then the next two pieces are the nut and bridge saddle adjustment. For adjusting nut I would need some tools I do not have (at least yet) and it didn’t look too bad. The bridge saddle adjustment looked as an easy and cheap option with minimal damage (well, new bridge saddle, in my case just a piece of plastic, so almost any replacement would be actually better). So there we go.
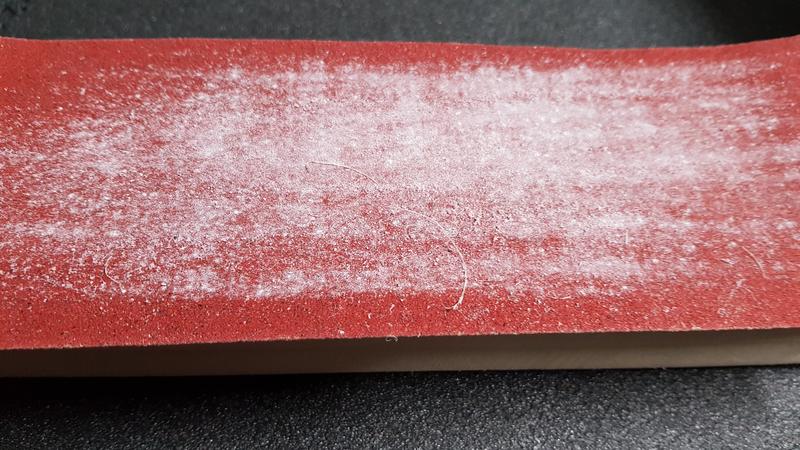
A piece of 80 sandpaper, a wooden block, string winder. Then lower tension of the strings, get the strings out (put each set of 3 on differend side, good tips from the videos referenced below), get the saddle out. Wow, that was easy!
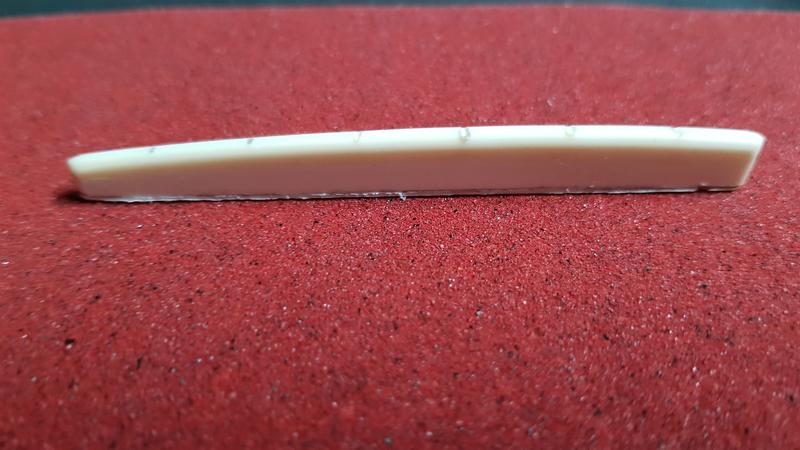
Then measure 0.5 mm, mark with a pencil and carefully start sanding.
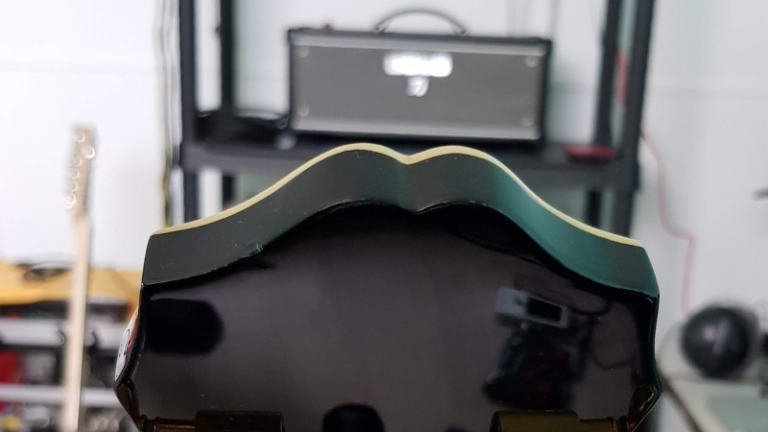
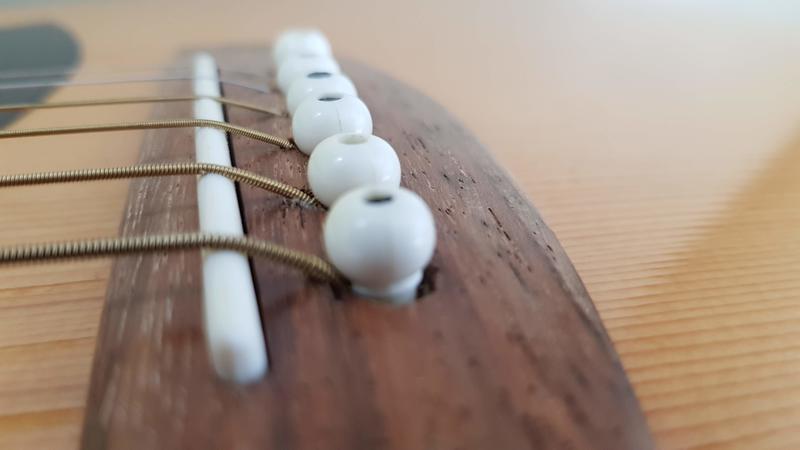
Finally, when the mark is about to disappear, check the bridge saddle bottom is flat (mine was not, so needed some careful sanding again) install the bridge back, put the strings back.
The first (aggressive on purpose) strumming revealed some buzzing when fretting 6th string on 3rd fret. Well, ok, normally I don’t do that agressive, but… Anyway, after some pulling and retuning the buzz was gone. Of course, feeling-wise it was playing better, it couldn’t be otherwise :).
Finally, measurement on the 6th string proved the improvement.
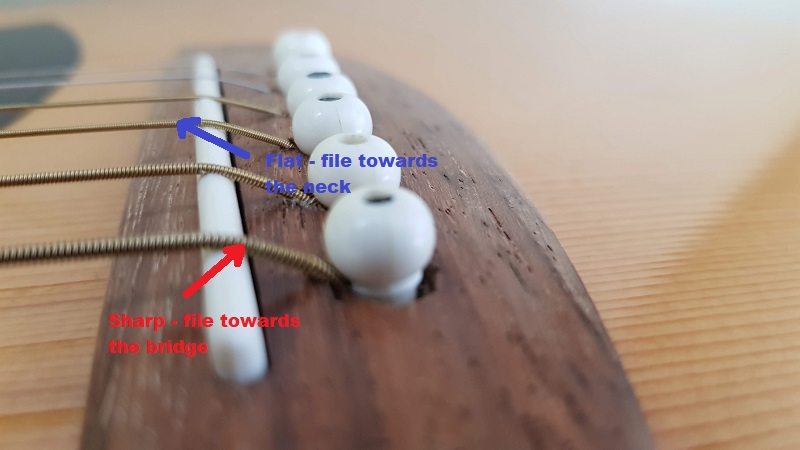
I did not do the intonation, according to my tuner it was not far off and stayed the same before and after adjustment, so I left it there for now. But just in case it would be needed, hereby schematics what can be done with the (uncompensated) bridge saddle to get intonation right:
Videos
Hereby a couple of videos I found useful and inspiring when working on my guitar.
Video 1: Professional adjustment
This video covers string replacemnt, nut and bridge saddle adjustment. The guy recommends to take off the TOP of the bridge saddle though, I don’t have a piezo element so I didn’t follow this part of the advice.
Video 2: DIY adjustment
This one actually was the biggest inspiration. I didn’t do filing on the guitar deck and didn’t care about the story with his guitar delivery though :), but the rest I found useful.
Enjoy!